
Visual Studio 2013 (Essentials or not, I don’t suppose it matters) provides the
ability to add SASS files (.scss) to your project. Strangely, it doesn’t
give you the ability out of the box to compile them!
Now before you go attempt to install the Windows version of ruby (which is impossible by the way), let me demonstrate how to get automatic compilation in Visual Studio. Just for you, I’ve done the requisite frantic googling, spelunking through StackOverflow comments, and sacrificing to ancient pagan deities, all to find the hidden clue pointing out the right direction.
Because I love you.
The magic trick is to install Web Essentials 2013 for Update 2.
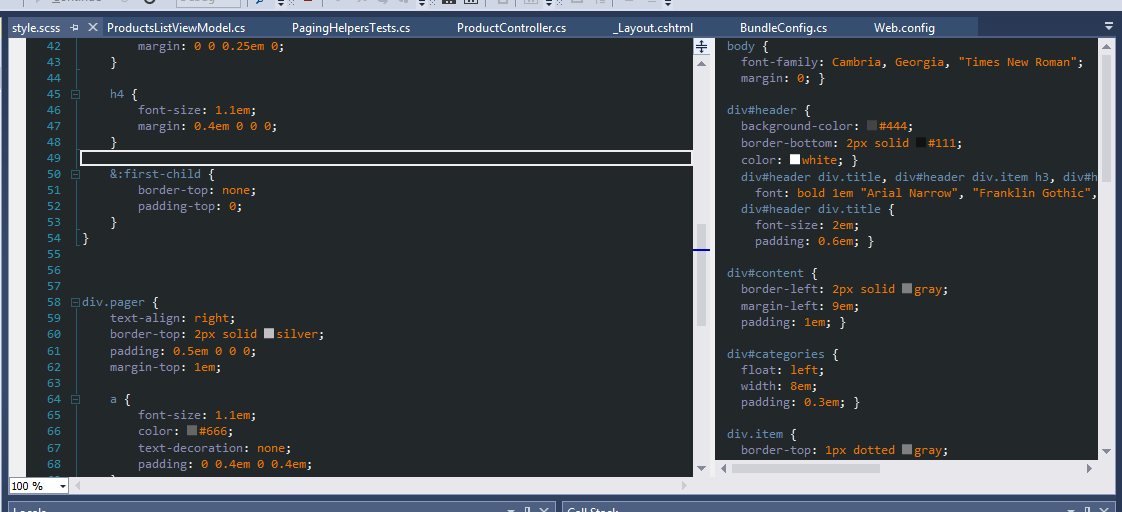
After installing and restarting Visual Studio, the SASS editor will now include a second pane showing the compiled CSS. Every time you save, it will be re-compiled. Pretty nifty, amirite?
Got that done? We’ll do a practice run.
Go ahead and right-click on Content and choose Add -> New Item. Browse to
Markup and pick SASS file. Name it something compelling, like style.scss. We
like semantic markup!
Add your styling and watch that thing compile! Its like watching paint dry, but way cooler!

You’ll notice that the new style.css file appears under the style.scss node
in the Solution Explorer tree. Under that is a minified version and a source
map. Aren’t we cool?
Now you can add a link to the new style.css file as you would any other
asset.
You can also Bundle it like you would any other file!
1 | bundles.add(new StyleBundle("~/bundles/style").Include( |
And view it!
1 | <head> |
Now go out and be sassy!